Step-by-Step Guide to Installing Laminate Flooring Like a Pro
If you’re a beginner looking to install laminate flooring, you’ve come to the right place! Installing laminate flooring is a fantastic way to upgrade your home’s style and functionality. But before you dive into the installation process, it’s essential to familiarise yourself with the step-by-step guide.
In this blog, we’ll walk you through each stage, from gathering the necessary tools to completing the finishing touches. By following these expert tips and tricks, you’ll be able to install flooring Adelaide like a pro and enjoy a beautiful and durable floor in no time. So, let’s get started!
Gather the Necessary Tools and Materials
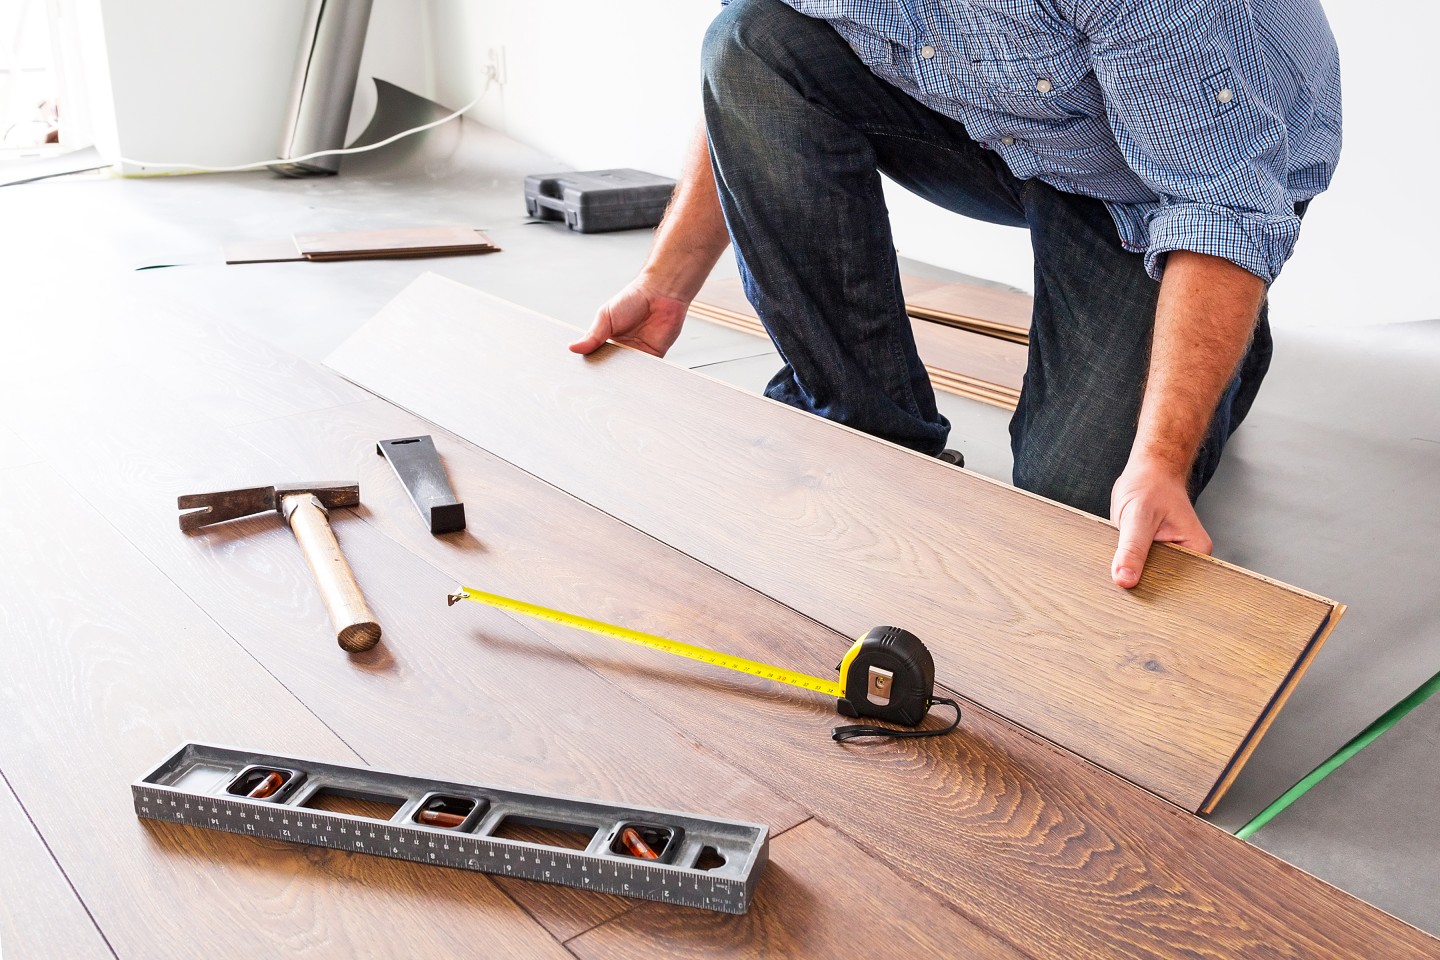
When embarking on a laminate flooring installation project, it’s important to have a few essential tools at hand.
One such tool is a measuring tape, which will ensure that you have accurate measurements of the area you plan to cover. This will help you determine the amount of laminate flooring you need to purchase, avoiding unnecessary wastage. Additionally, it’s crucial to select the right type of laminate flooring that suits your needs and preferences. With a wide range of options available, including different colours, styles, and thicknesses, take your time to choose the one that complements the overall aesthetic of your space.
Before you begin laying down the laminate flooring, be sure to install underlayment. This layer provides cushioning and sound absorption, as well as acts as a moisture barrier. It not only enhances the overall comfort of the floor but also helps to protect the laminate from potential damage. To ensure a professional-looking installation, remember to use spacers. These small, wedged tools help maintain the proper expansion gap between the flooring and the walls.
This gap allows the laminate to expand and contract with changes in temperature and humidity, preventing buckling or warping. Spacers are placed alongside the wall during installation and can be easily removed once the flooring is in place. By following these steps and utilising the right tools, you’ll be well on your way to installing laminate flooring like a pro.
Prepare the Subfloor
Before you begin installing flooring, it’s important to prepare the subfloor properly. Start by removing any existing flooring materials, such as carpet or vinyl. This will provide a clean and even surface for the laminate planks. Next, sweep or vacuum the subfloor to remove any dust, dirt, or debris.
This will ensure that the laminate planks adhere properly and prevent any bumps or imperfections. Additionally, it’s crucial to ensure that the subfloor is dry and free from moisture before proceeding. Moisture can cause the laminate planks to warp or buckle over time.
Inspect the subfloor for any loose boards or squeaks and secure them if necessary. This will help create a solid and stable base for your laminate flooring installation.
Install the Underlayment
Once the subfloor is clean, level, and free from any damage, it’s time to lay down a suitable underlayment material. This step is crucial in creating a stable and smooth surface for your laminate flooring.
Choose an underlayment material, such as foam or felt, and make sure to cover the entire subfloor area. As you lay down the underlayment, be sure to overlap the seams and secure them with tape to prevent shifting during the installation process. It’s important to ensure that the underlayment is smooth and free from any wrinkles or folds that may affect the final result of your laminate flooring.
The underlayment not only provides cushioning and moisture protection but it also helps reduce noise for a better overall laminate flooring experience. Taking the time to properly install the underlayment will ensure a successful and long-lasting laminate flooring installation.
Start the installation
To start the installation of your flooring Adelaide, it’s important to gather all the necessary tools and materials. This includes measuring tape, laminate flooring, underlayment, spacers, a hammer, a circular saw, a tapping block, and a pull bar. Having these tools at hand will make the installation process much smoother and more efficient.
Once you have everything you need, it’s time to prepare the subfloor. Ensure that it is clean, dry, and level, as any imperfections or debris can affect the final result. Next, acclimate the laminate flooring in the room for at least 48 hours before installation. This allows the planks to adjust to the temperature and humidity of the room, ensuring a successful and long-lasting installation.
Double-check and measure the dimensions of the room to determine exactly how much laminate flooring you’ll need. This will help you avoid any shortage or excess of material during the installation process. Taking these steps before beginning the installation will set you up for a smooth and professional result.
Continue the installation
To continue the installation, it is essential to have a properly prepared subfloor. Before laying down the laminate planks, ensure the subfloor is clean and level. Remove any debris or dirt and check for any uneven areas. If necessary, use a levelling compound to ensure a smooth surface.
Once the subfloor is ready, start laying the planks from one corner of the room, working towards the opposite wall. This will ensure a seamless and professional look. As you lay the planks, remember to use spacers to maintain a small gap between the planks and the walls. This gap allows for expansion and prevents buckling or damage to the flooring.
And finally, before moving on to the next plank, always double-check that each one is securely locked in place. This will guarantee a sturdy and long-lasting installation.
Finish the installation
Once all the laminate flooring planks are laid down, it’s important to secure them in place for a sturdy and long-lasting installation. Using a rubber mallet, gently tap each plank to ensure a tight fit and proper alignment. This will help prevent any movement or shifting of the planks over time.
Next, trim any excess laminate around the edges of the room using a saw or a laminate cutter tool. This step is essential for achieving a neat and polished appearance. Additionally, be sure to fill any gaps between the planks with wood filler. This will give the floor a seamless finish and prevent any dirt or debris from collecting in between the planks.
Don’t forget to clean up any dust or debris left behind from the installation process. A thorough cleaning will not only make your new laminate flooring look its best but also ensure that it remains in top condition for years to come.
Maintenance and Care Tips
In addition to installing flooring Adelaide, there are several other aspects of home maintenance that can help you keep your space looking and functioning at its best.
-
Use Furniture Pads to Prevent Scratches
To protect your floors and furniture, it’s important to use furniture pads. These handy accessories can be placed on the legs of chairs and tables to prevent scratches on hardwood floors. They can also be used on the bottom of heavy furniture to avoid damage to carpets and rugs.
Additionally, by applying furniture pads to the corners of cabinets and bookshelves, you can prevent scratches on your walls. And don’t forget to use furniture pads under appliances and electronic devices to prevent surface scratches on countertops and tables.
Taking these simple precautions will help to maintain the beauty and integrity of your floors and furniture for years to come.
-
Maintain a Cleaning Routine
Regular cleaning is the key to prolonging the life and appearance of your laminate flooring. To remove dirt and debris, start by sweeping or dusting the floor with a soft broom or microfiber mop. This will prevent scratches caused by abrasive particles.
Next, use a damp mop or cloth with a mild detergent specifically formulated for laminate floors to clean the surface. Avoid using excessive water or abrasive cleaners, as they can damage the protective layer of your flooring.
-
Address Spills and Stains Immediately
Accidental spills are bound to happen, but it’s important to address them promptly to prevent staining and potential damage to your laminate flooring. Immediately wipe up any spills with a soft cloth or sponge to avoid moisture seeping into the floor joints.
For stubborn stains or sticky residue, dampen a cloth with a mixture of warm water and a mild laminate floor cleaner, then gently rub the affected area. Avoid using harsh chemicals or abrasive scrubbers, as they can damage the protective layer.
Conclusion
Installing laminate flooring Adelaide doesn’t have to be a daunting task; with the right guidance, anyone can achieve professional-looking results. By following this step-by-step guide, you’ll be well on your way to transforming your space with beautiful, durable flooring.
Remember, the key is preparation, precision, and patience. As you embark on your DIY laminate flooring project, you’ll not only save money but also gain a sense of accomplishment that comes with mastering a new skill. So, roll up your sleeves, gather your materials, and get ready to elevate your home’s aesthetics and comfort.