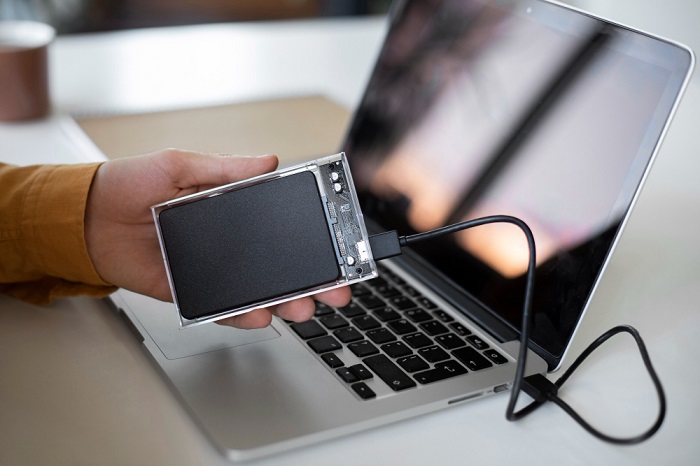
How to Create A Bootable Linux USB Drive
When installing a new copy of a Linux distribution on your desktop computer or laptop, you will often need a bootable USB drive that contains the Linux distribution that you want to install.
This guide will walk you through the process of creating a bootable Linux USB stick on several operating systems, including Windows, macOS, and Linux. You may boot and try out or install the Linux distribution using this USB stick on any machine that supports booting from a USB drive.
A Step-By-Step Tutorial on How to Create a Bootable USB Drive
The following items are required in order to make a bootable USB Drive:
- An image of the distribution in ISO format that you want to utilize.
- A computer that has an available USB port.
- A USB flash disk has a storage capacity of at least 16 gigabytes.
- A piece of software that will generate the bootable disk.
Keep in mind that there are quite a few programs available to assist you in the process of creating a bootable USB drive. This is the single most important thing to keep in mind. And since we’re all using various computer operating systems, we suggest you accomplish the same task using the Best USB Bootable Software available in the market and also compatible with the most popular computing platforms: Linux, MacOS, and Windows. All you need to do is – simply download the executable file to your desktop and then execute it to install the desired software. It is a simple and straightforward process.
1. Place your USB drive into the computer
The first thing you need to do is plug your USB drive into the machine that has bootable software already installed on it.
After you have inserted the drive, check to see whether the operating system recognizes it, and make a note of the name of the drive.
2. Launch the program
You may start the program by clicking on its icon in the desktop menu of your computer.
3. Choose the distribution that you want
You can do one of two things. You have the option of using the ISO image of the distribution that you downloaded, or you may choose from a list of pre-configured distributions that are accessible from inside the interface of the software.
4. Choose your flash disk or USB drive
First, make sure that the USB Drive is chosen from the drop-down menu. Then, from the Drive drop-down menu, pick the name of the USB drive you want to use. Because USB bootable tools will delete everything on the disk you pick, you must double-check that you have chosen the correct drive. Because of this, we would advise removing any external drives other than the one that will act as your bootable disk and replacing them with a single internal drive.
5. Burn Image
After you have finished taking care of everything, click the OK button so that the procedure may begin. Now, the tool will begin the process by downloading the required ISO image if you choose to use one of the pre-configured images. After that, it will extract and transfer the data, install the bootloader, and finish the procedure.
This procedure shouldn’t take more than five to fifteen minutes, but the length of time it takes may vary depending on whether or not you need to download a distribution, the speed of your network, and the performance of your system. It is possible that you may discover that the software seems to get stuck in the middle of the process of extracting and transferring files. Just have some patience, and it will be over soon.
After the procedure has been finished, you should click the Exit button, then securely eject the USB device, and then you are ready to go. You may now launch the computer that will function as your new Linux desktop, plug the USB drive into the computer, and begin the process of installing the operating system.
So, that was all about how to create a bootable Linux USB drive, without any hassles. We hope you found the information provided in this post helpful. Please feel free to drop your queries or further doubts in the comments section below.


