Floor Sanding: A Friendly Guide to Restoring Your Floors
Having well-maintained floors is crucial for the overall aesthetics and value of any space. Over time, floors can become worn, scratched, and stained, diminishing the beauty of a room. However, with the process of floor sanding, you can restore your floors to their former glory.
In this guide, we will delve into the world of floor sanding Geelong, exploring the process, preparation, step-by-step instructions, finishing options, and more. By the end of this blog post, you’ll be equipped with the knowledge and confidence to restore your floors and transform your living spaces.
Understanding Floor Sanding
Floor sanding is the process of removing the top layers of a wooden floor using specialized equipment and techniques. The primary goal is to eliminate scratches, stains, and imperfections, revealing a smooth and even surface. Floor sanding can also provide an opportunity to change the color or finish of the floor, allowing for a fresh and updated look.
One of the key benefits of floor sanding is the restoration it offers. Over time, floors can become worn and damaged due to foot traffic, furniture movement, and general wear and tear. By sanding the floor, you can remove these signs of aging, bringing back the original beauty of the wood.
Preparing for Floor Sanding
Before embarking on the Floor Sanding in Melbourne Eastern Suburbs Melbourne Eastern Suburbs process, it’s essential to prepare adequately. This includes clearing the room of furniture, rugs, and any other items that may obstruct the sanding process. It’s also crucial to protect nearby areas, such as adjacent rooms or walls, from dust and debris.
When deciding whether to hire professionals or attempt DIY floor sanding, consider the size of the project, your experience level, and the equipment required. While hiring professionals can ensure a high-quality result, DIY floor sanding can be a cost-effective option for smaller projects. However, keep in mind that floor sanding requires skill and precision, so if you’re unsure, it’s best to consult with experts.
Step-by-Step Floor Sanding Process
Gathering the necessary tools and materials:
To effectively sand your floors, you’ll need a drum sander, an edger, a vacuum cleaner, safety gear (such as goggles and a dust mask), sandpaper in various grits, and a shop vac or dust extractor for dust collection.
Inspecting and repairing the floor:
Before starting the sanding process, it’s important to inspect the floor for any loose boards, protruding nails, or other issues that may require repair. By addressing these issues beforehand, you can ensure a smooth and seamless sanding process.
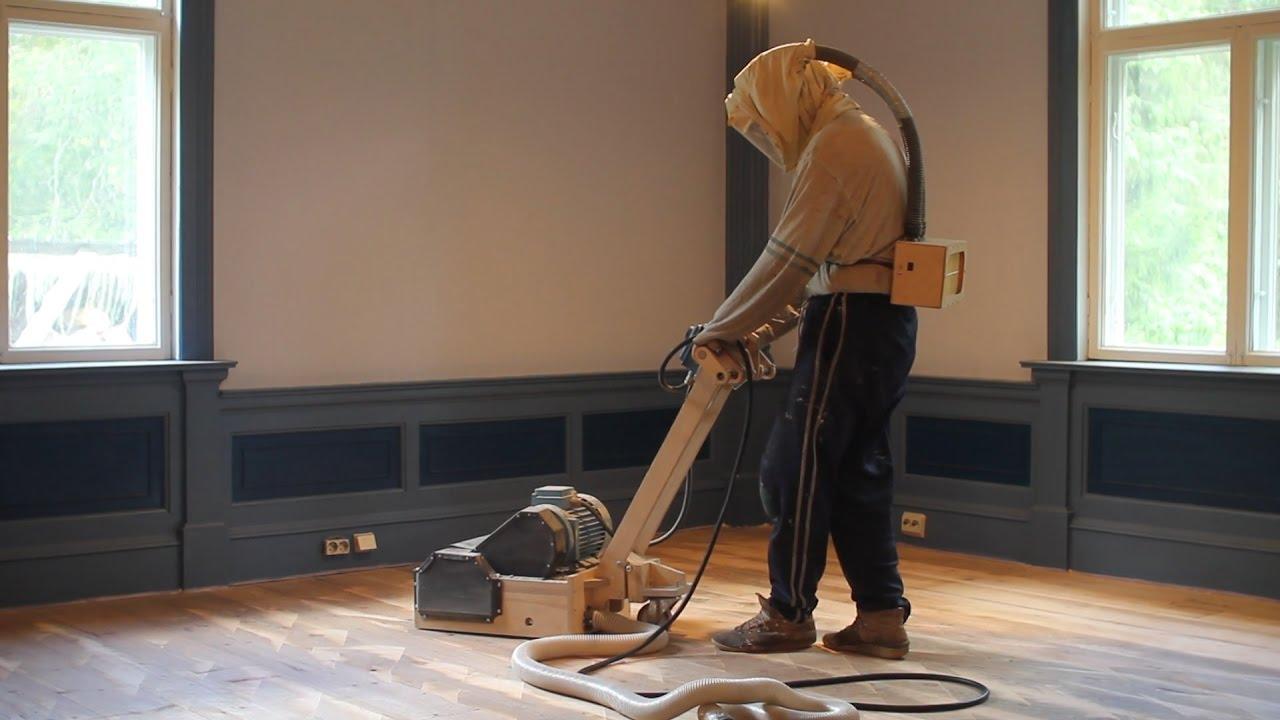
Initial sanding:
Begin by using a coarse-grit sandpaper on the drum sander to remove the old finish layers effectively. Start in one corner and work your way across the room, moving in a straight line. Remember to keep the sander moving at all times to avoid creating uneven patches.
Intermediate sanding:
After the initial sanding, switch to finer grit sandpaper to achieve a smoother result. Gradually work your way through the grits, ensuring each pass covers the entire floor surface. This step will help eliminate any remaining scratches or imperfections left by the initial sanding.

Final touches:
Some areas, such as corners and hard-to-reach spots, may require hand-sanding. Use a sanding block or a small handheld sander to carefully sand these areas, ensuring they blend seamlessly with the rest of the floor.
Cleaning up:
Once you’ve completed the sanding process, it’s essential to thoroughly clean the room. Use a vacuum cleaner or a dust extractor to remove all the dust and debris from the floor and surrounding areas. Wipe down any surfaces that may have accumulated dust during the process.
Finishing Options
After sanding your floors, it’s time to choose a suitable finish to protect and enhance the wood. There are various options available, such as oil-based polyurethane and water-based polyurethane. Each finish has its own advantages and considerations. Oil-based polyurethane offers durability and a warm glow but requires longer drying time and can emit more fumes. Water-based polyurethane, on the other hand, dries quickly, has less odor, and is more environmentally friendly. Consider factors such as durability, maintenance requirements, and personal preference when selecting a finish.
Once you’ve chosen a finish, follow the manufacturer’s instructions for application. Apply the finish using a brush or roller, working with the grain of the wood. Allow each coat to dry thoroughly before applying the next. Depending on the type of finish, you may need to sand lightly between coats for optimal results.
Conclusion:
Floor sanding is an excellent way to restore the beauty of your floors and breathe new life into your living spaces. By understanding the floor sanding Geelong process, preparing adequately, following the step-by-step instructions, and choosing the right finish, you can achieve professional-looking results.
Whether you decide to hire professionals or take on the challenge yourself, restoring your floors will undoubtedly enhance the overall aesthetics and value of your home. So, don’t hesitate to embark on this rewarding journey of floor sanding and enjoy the benefits of a refreshed and revitalized space.